October 01, 2026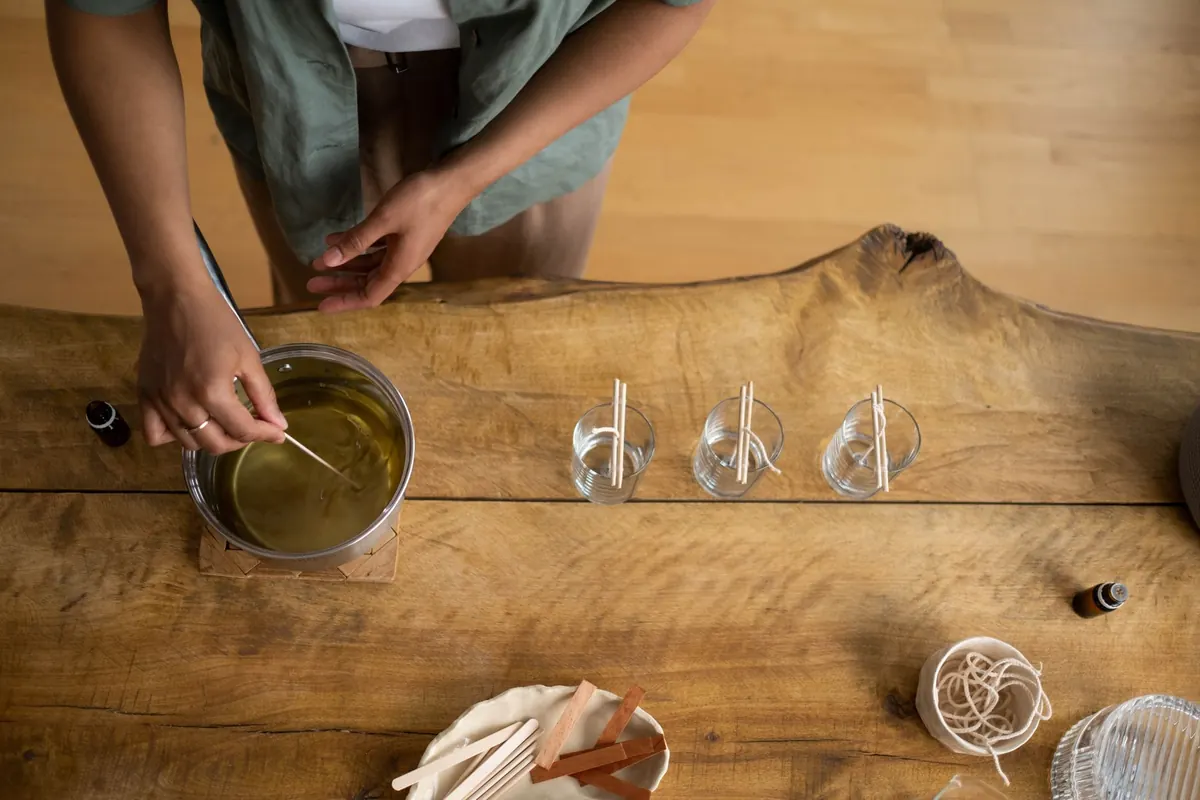
You poured, you waited, you unmolded, and there it is: a crater in the middle, a chalky white haze across the top, a hairline crack running down the side. Nothing is wrong with you or your wax. Pour defects are just the wax reporting back on which variable drifted while you weren't looking.
The trick is not guessing. It's knowing which knob to turn. Change three things at once and you learn nothing; change one and you learn exactly what that knob does.
How to Use This Checklist
Print this page, or copy it into a notebook you keep near the melter. When a defect shows up, find it below, read the likely cause, make the adjustment, and pour the same recipe again. Keep a one-line log for every pour: wax and batch, pour temperature, fragrance load, room temperature, and cure time. A phone photo of the top and the side of the finished candle costs nothing and tells you more a week later than your memory will.
The four variables behind almost every defect
- Pour temperature — how hot the wax is when it hits the vessel.
- Cooling speed — how fast it sets, which depends on room temperature, drafts, and insulation.
- Fragrance load and mixing — how much oil, added at what temperature, stirred for how long.
- Vessel temperature — a cold jar pulls heat out of the wax faster than a warm one.
Sinkholes, Tunnels, and Rough Tops
A sinkhole is a depression around the wick, sometimes deep enough to look like a well. A tunnel is a softer version: a narrow dip that follows the wick line. Both come down to shrinkage. Wax contracts as it cools, and if the outside sets before the inside, the middle keeps sinking after the surface has already locked.
Likely causes: pouring too hot, cooling too fast, a cold room or a cold jar, too much fragrance oil, or a single deep pour in a wide vessel.
The adjustments:
- Drop your pour temperature. Container soy usually likes somewhere around 135°F; blends and paraffin want to be hotter, often in the 160–180°F range. Check your wax supplier's guidance and work down from there.
- Warm your vessels. A few minutes in a low oven or a quick pass with a heat gun takes the chill off the glass.
- Slow the cool. Set filled jars on a towel or cardboard in a draft-free spot, away from windows, vents, and ceiling fans. Covering them loosely with a box slows things further.
- Pull back the fragrance. If you're pushing past roughly 6–8% by weight, try stepping down by one percentage point.
- Pour in two stages for wide containers. Fill halfway, let it set, then top off.
Fixing a sinkhole you already have
Don't just pour wax on top of a crater—it will seal in an air pocket and crack later. Instead, poke a few relief holes with a skewer down alongside the wick, then warm the surface with a heat gun until the top is liquid and level. If the dip is deep, do a second pour at the same temperature as the original, slightly cooler if anything.
Frosting on Soy and Coconut Wax
Frosting is that powdery white bloom on the surface and sometimes up the sides. It looks like mold, which alarms people, but it isn't. It's the wax re-crystallizing as it settles into a more stable structure, and it's largely cosmetic. Your candle will still burn fine.
Likely causes: big temperature swings during cooling, pouring too cool, a chilly curing space, or a wax that's simply prone to it.
The adjustments:
- Cure in a stable spot. Somewhere in the mid-60s to mid-70s Fahrenheit, out of direct sun and away from exterior doors.
- Don't refrigerate or freeze candles to speed them up. Ever. The temperature shock is a frosting factory.
- Pour a little warmer if you're at the low end of your wax's range.
- Skip the ice bath under the pouring pitcher. Rapid chilling from below shows up on the surface.
- Wipe a frosted surface with a heat gun on low. It will reset smooth, though some bloom may return as the candle continues to cure.
If you sell, mention frosting in your listings. A buyer who knows it's normal is a buyer who isn't emailing you a photo of "mold."
Cracks, Wet Spots, and Wax That Pulls Away
Cracks usually run from the wick outward or down the side. They happen when the wax cools unevenly and the contraction outruns the wax's flexibility. Cold rooms, fast cooling, and re-melting a candle that has already fully set are the usual culprits. Slow the cool, warm the room slightly, and avoid the temptation to "just top it off" with a second pour before the first has properly set.
Wet spots are the pale, greasy-looking patches where the wax has separated from the inside of the glass. They're an adhesion problem, not a leak. Warmed vessels, a slower cool, and a clean, dry jar go a long way. Some makers set jars in a shallow warm water bath to cool; it works, but keep water out of the vessel.
Wax pulling away from the wick often means the wick was set when the wax was too cool, or the wick was off-center and the surrounding wax shrank away from it. Pour at the right temperature, hold the wick straight while it sets, and support it with a wick bar rather than tape and hope.
The At-a-Glance Fix List
- Sinkhole at the wick → pour cooler, warm the jar, cool slower.
- Tunnel down the middle → reduce fragrance load, stir longer, pour in two stages.
- White powdery bloom → cure in a stable room, don't chill it, pour slightly warmer.
- Rough, lumpy top → pour temperature too low, or wax was stirred cold; heat gun and re-pour.
- Cracks radiating out → cool too fast, room too cold, or re-melted wax poured over set wax.
- Wet spots on the glass → cold jar, fast cool, or a smudged interior.
- Air bubbles in the wax → stirred too vigorously after adding fragrance; stir slowly in one direction.
- Fragrance pooling on top → oil added too cool or not stirred in; add around 185°F and stir for two minutes.
Your Pour-Day Checklist
- Warm the workspace and the vessels. Room steady, no drafts.
- Melt the wax gently and stir slowly. No whisking.
- Add fragrance at the recommended temperature and stir for a full two minutes.
- Let the wax drop to your pour temperature. Check it with a thermometer, not a guess.
- Pour steadily, center the wick, and secure it.
- Cool slowly, covered, undisturbed, for at least several hours.
- Cure before you judge anything. Give soy a few days; give it a week or two for the best scent throw.
- Trim the wick, do a test burn, and write down what you changed.
Do that, and the defects stop being mysterious and start being a paper trail. Every crater and crack is a data point. Keep the log, make one adjustment at a time, and your next pour will tell you exactly what worked. And as always when you're working with hot wax, fragrance oils, and open flames, keep an eye on the pot and never leave melting wax unattended.
Photo: Ron Lach / Pexels